
Creating a Visit and Adding Visitors
Before creating of a visit, you may want to add hosts (contact persons). One of these individuals will be designated as the "Organizer" in the Visit form.
If your organization has several different locations (buildings/venues/sites) and you want to manage visitors there, then you can also add locations.
Creating a Visit
To create a new visit, follow these steps:
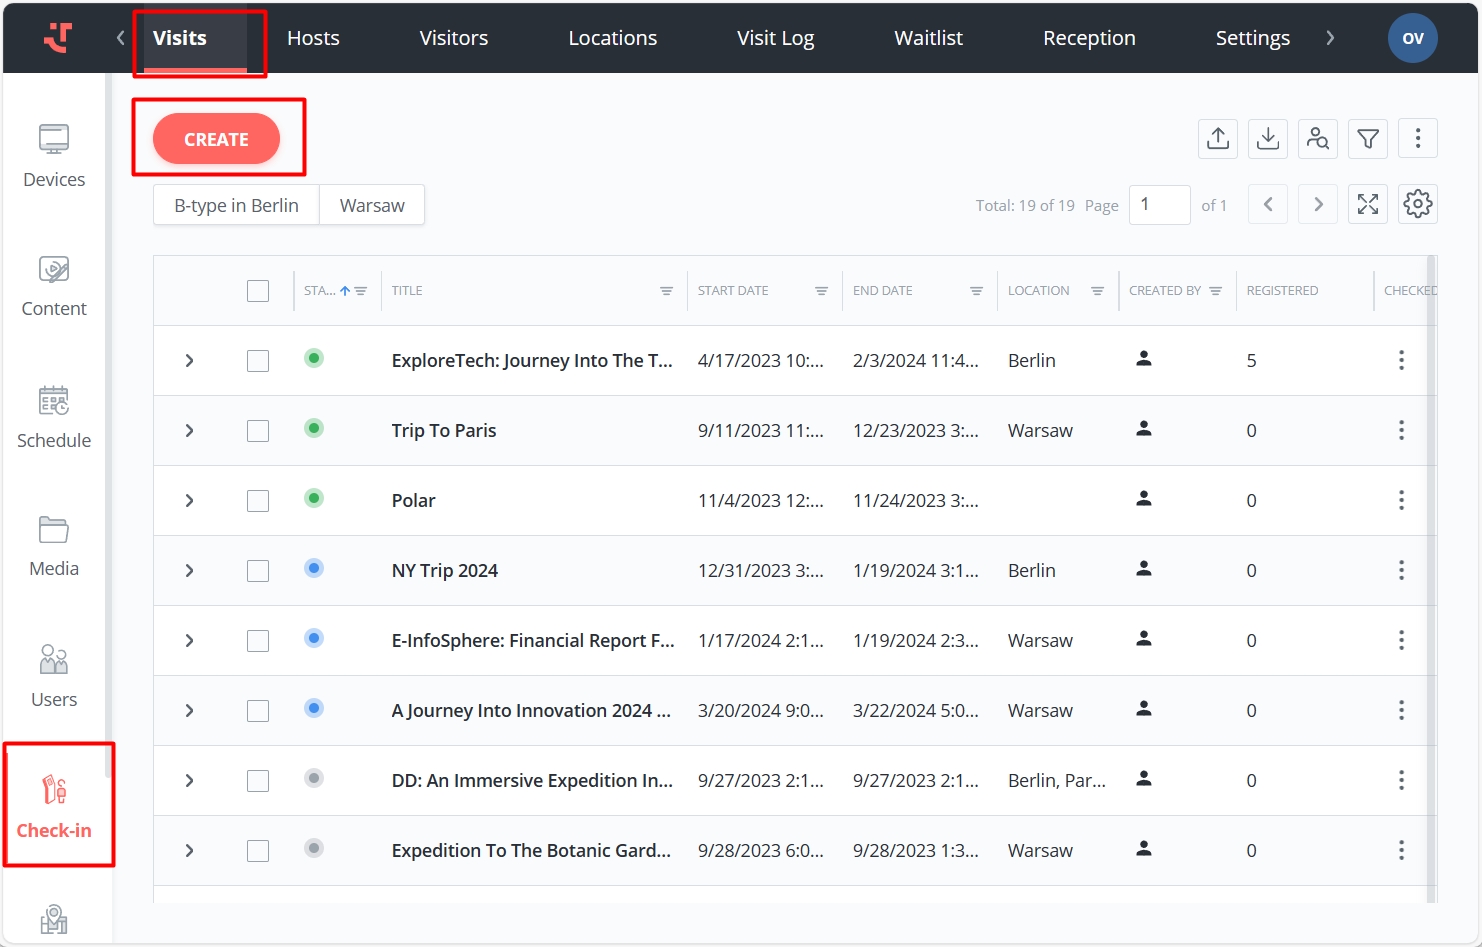
Go to the "Visits" tab in the "Check-in" menu and click on the “Create” button.
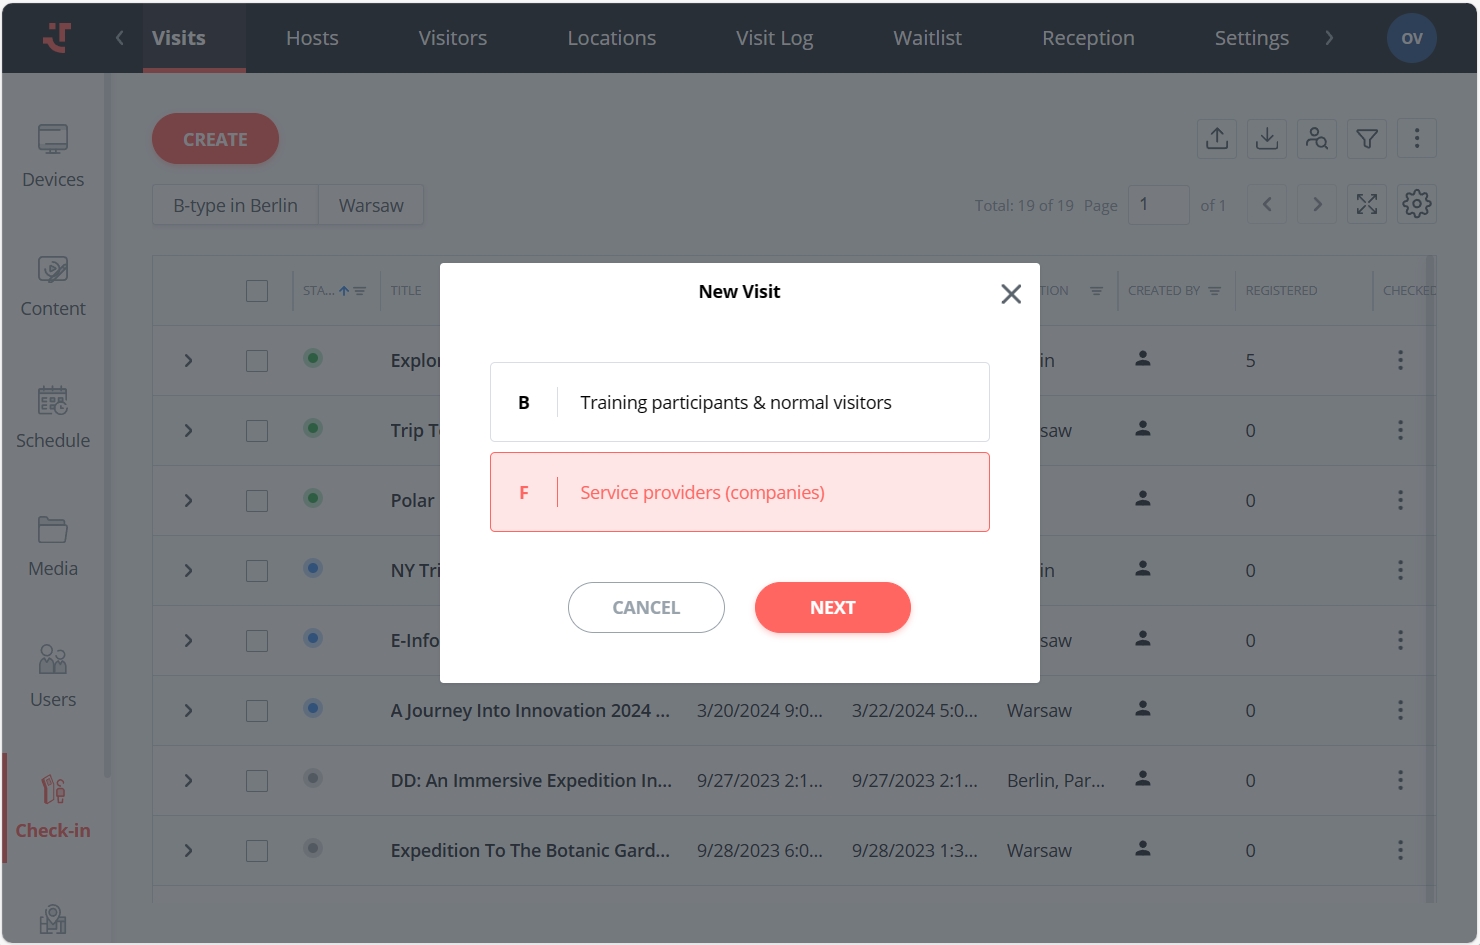
Select a visit type and click 'Next'. The different active visit types are listed in a pop-up only if you have added and configured them in the 'Visit types' section of the Settings. The default visit type is pre-selected.
Fill in the required fields, including the visit Title, Start-End date and time, and Display time. The rest of the fields, including Location details and the Organizer, are optional.
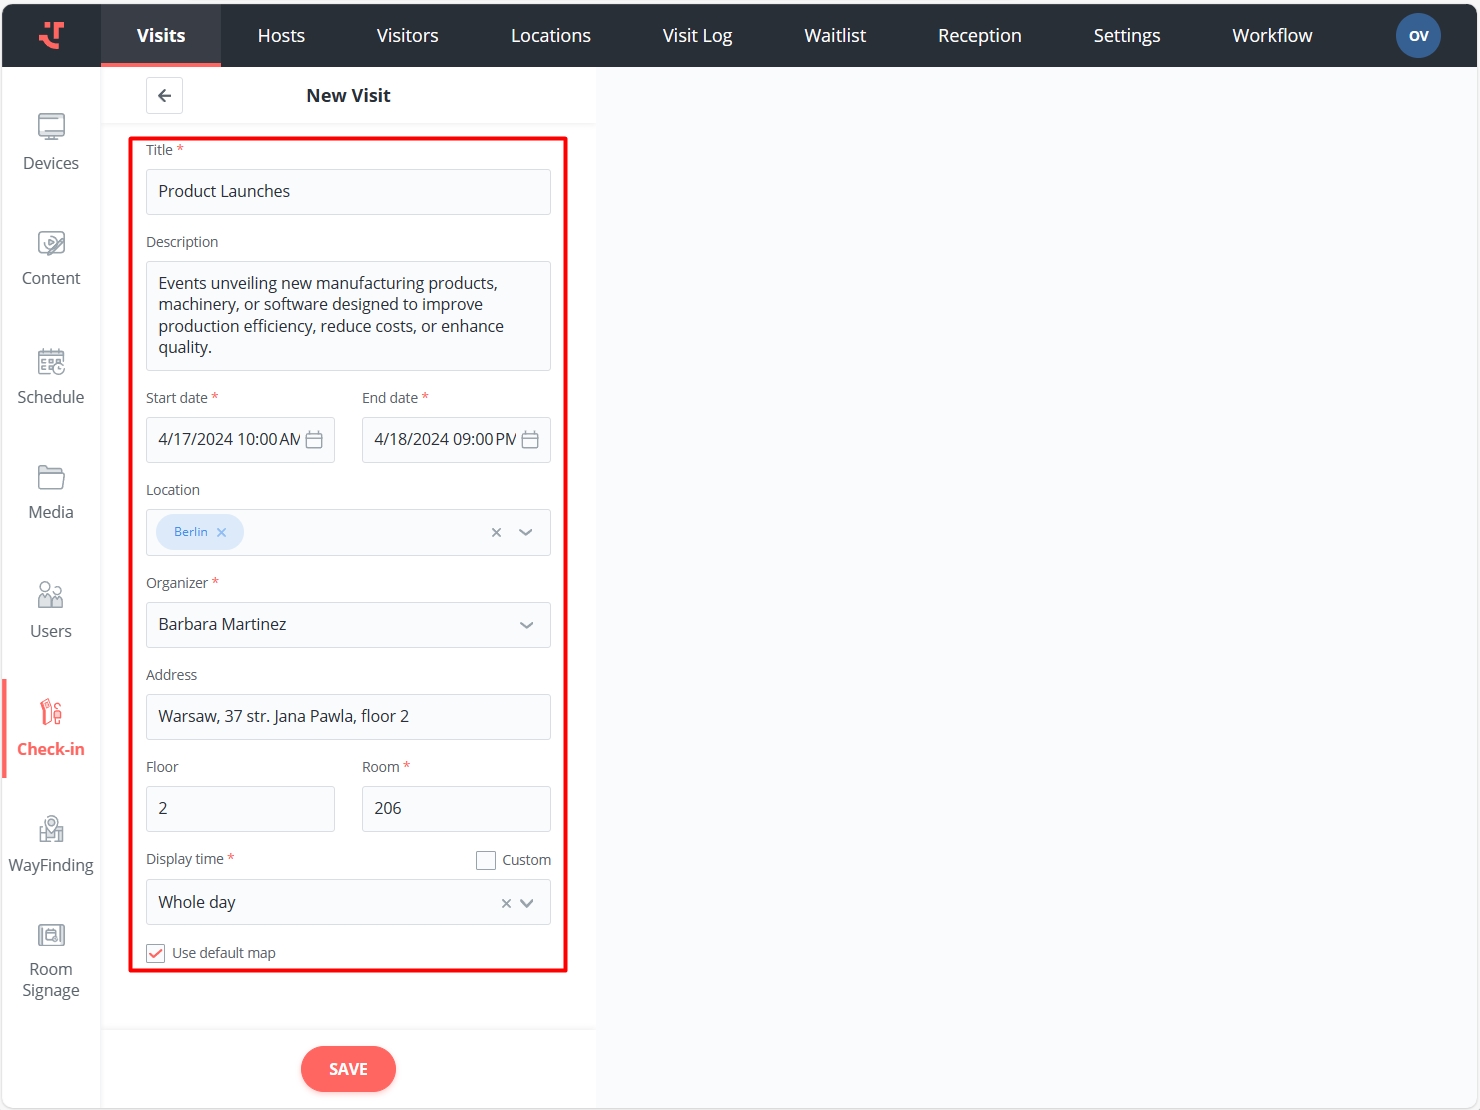
Click 'Save.'
Adding Visitors to the Visit
To add visitors to the visit, you can:
Create/upload them in the visit details directly. Read the Creating Visitors or Uploading Visitors from File sections respectively.
Select the already created/uploaded visitors. Read below.
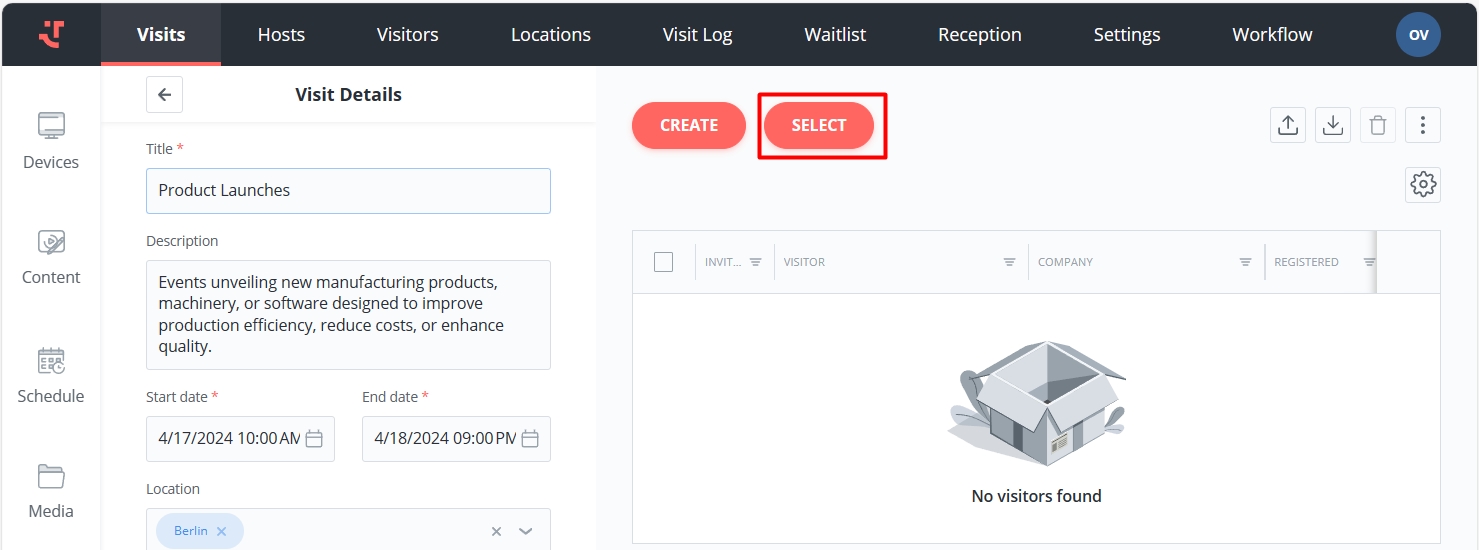
To select existing visitors, follow these steps:
On the Visits tab, open a visit to view its details, and click 'Select'.
Select visitors from the list. You can also search for visitors by name.
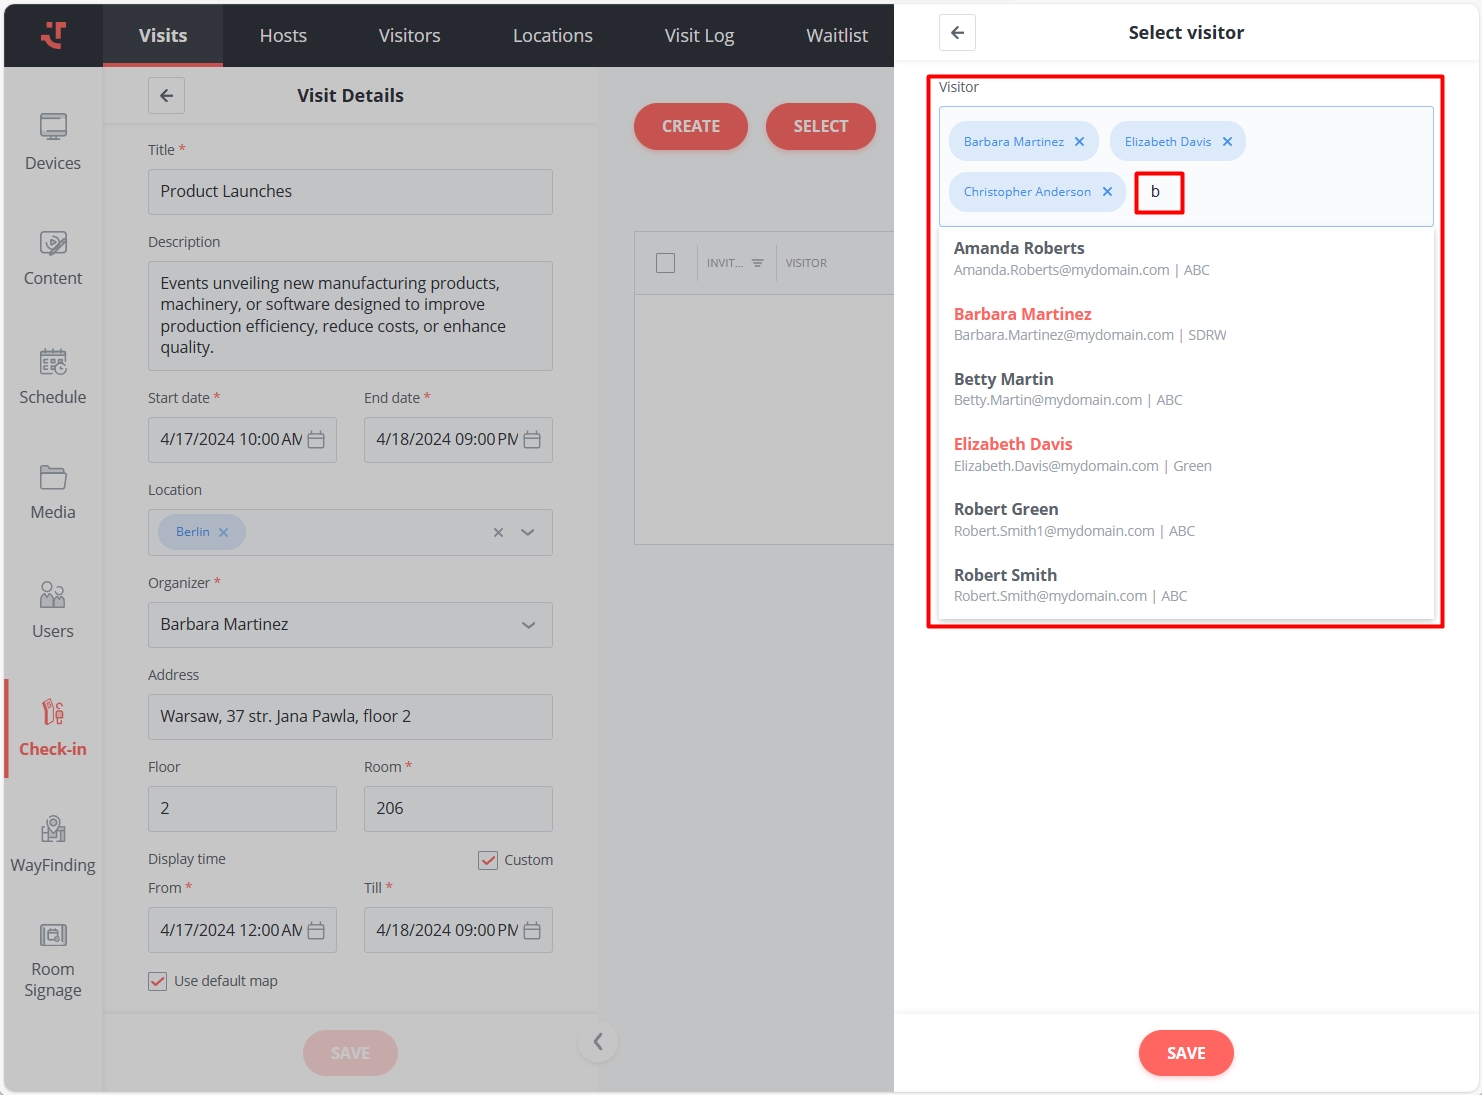
Click 'Save.'
As a result the selected visitors will be added to the visit.

Now, you can do some actions with your visitors like sending invitations or generating QR-codes. Learn more in Registration and Check-In Process.

Last updated
Was this helpful?