
Sending Invitations
After creating a visit and adding visitors, you can send invitation emails containing crucial information about the visit, such as personal entry codes (QR or PIN).
Furthermore, they can include details on online pre-registration, where visitors complete questionnaires and agreements beforehand. This streamlines the check-in process and helps avoid queues at the kiosk.
You can choose to send personal or group invitations. The main difference is that a group invitation is sent to one or more individuals within the group (the leaders or coordinators), containing the check-in data for all the visitors specified in the visit. The group leader then distributes the entry QR codes or PIN codes.
Before sending invitations, be sure to check and configure an invitation email template. Find more details in Check-in Notifications.
To send an invitation, follow these steps:
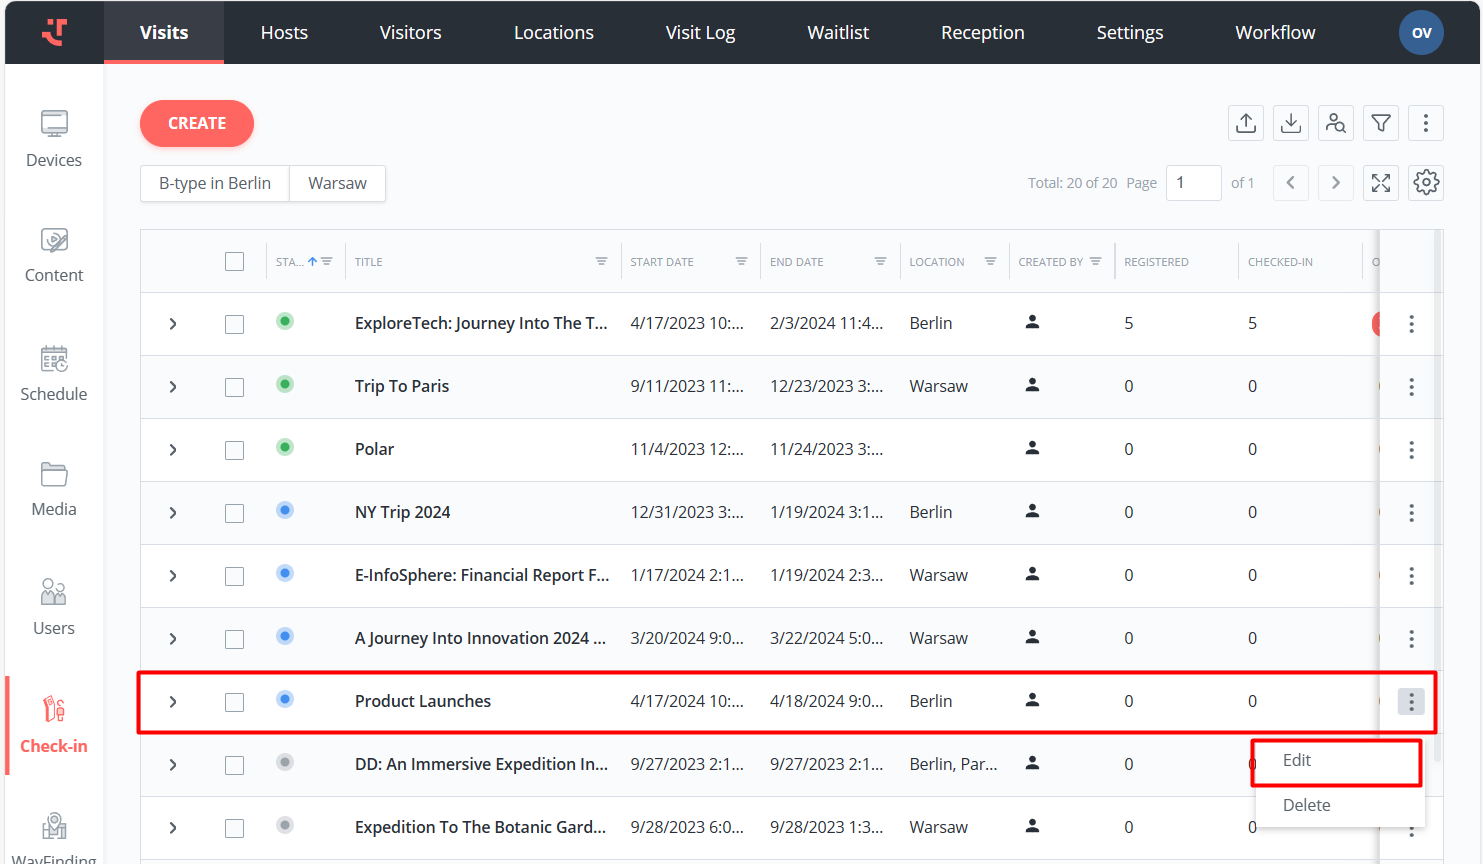
Go to the Visits tab, then open an upcoming visit from the list by clicking its row.
Select all visitors by ticking the checkbox at the top, or select intended invitees by ticking the checkboxes next to their names. If there are no visitors displayed in the visit details or if you wish to add further visitors to the list, read Creating a Visit and Adding Visitors.
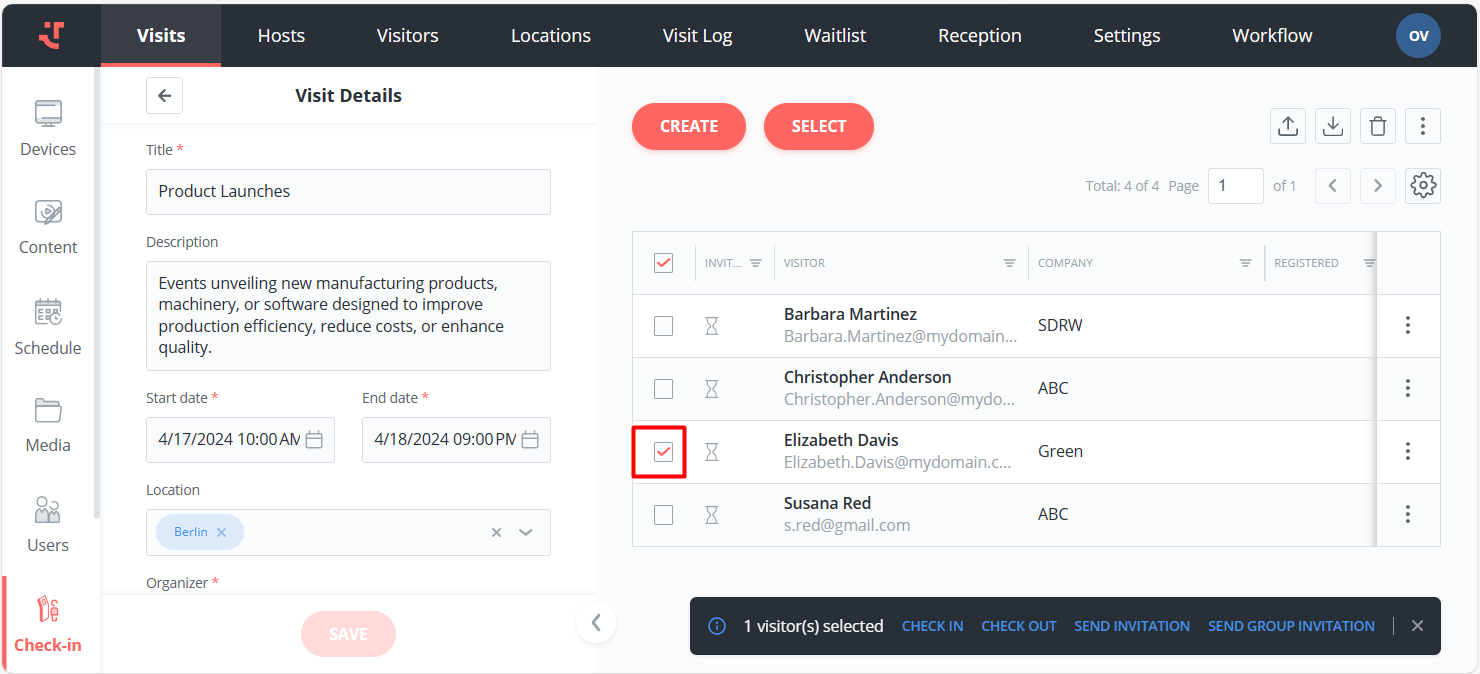
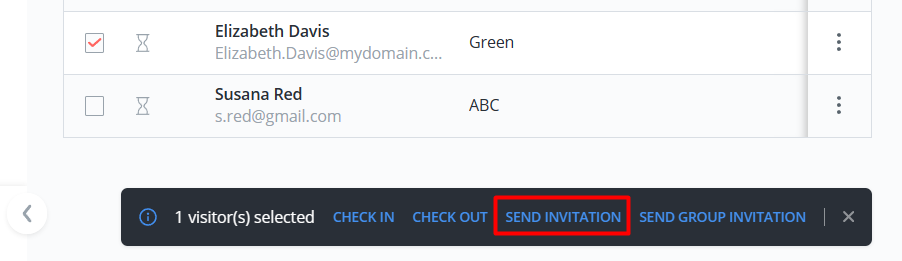
Click 'Send invitation' on the bottom panel.
As a result, the system will send invitations based on the specified template and the language designated for each visitor. When a visitor's language is unspecified, the system uses the invitation's default language.
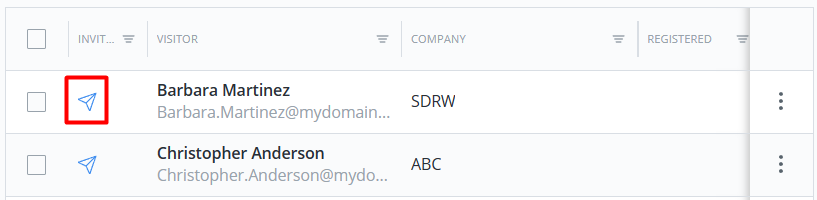
Sent invitations are marked with the special icon next to the visitor's name.
Last updated
Was this helpful?